Water bottle rockets construction can range from simple designs that just tumble back to Earth after flight, to elaborate designs that include parachute recovery systems deployed in various ways. First are some links to video build tutorials. Following is a picture tutorial for building a rocket with 4 fins and a "Bertha" style nose cone.
|
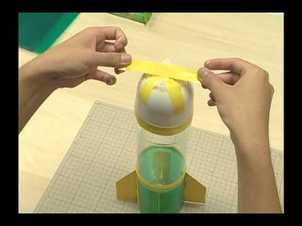
Here is a very simple design and fast construction using a bottle, a tennis ball and plastic fins and duct tape. Click image to view. Link: http://safeshare.tv/w/bizgPCZhpu |

|
|
Here is an example of a more sophisticated design. The tutorial is in two parts. The same procedure for attaching the fins to the skirt, could be used without the skirt. The fins could be attached directly to the bottle to simplify the build. The tutorial is in 2 parts. Click the images to view. Links: Part 1 http://safeshare.tv/w/bKALiOCrcq Part 2 http://safeshare.tv/w/UgCfdwJbfc |
|
If you are feeling adventurous and confident, the following series of tutorials (six) will teach you how to make a sophisticated rocket together with a parachute recovery system deployed using a wind flap. Additional materials like nylon model airplane hinges will be necessary, unless you can think of a good replacement!
|
Part 1 - Materials and Nose Cone
http://safeshare.tv/w/OiBxGUXWpZ Part 2 - Wind-flap and Anchor http://safeshare.tv/w/PlobZAxgxA Part 3 - Parachute Attachment http://safeshare.tv/w/ZPWSWBnJbg |
Part 4 - Making the Parachute
http://safeshare.tv/w/CWpZiOHHmf Part 5 - Arming Deployment Mechanism http://safeshare.tv/w/XUTlkcbVFt Part 6 - Constructing Fins http://safeshare.tv/w/iJnTAshRtg |
Step-by-step - How to build your own rocket.
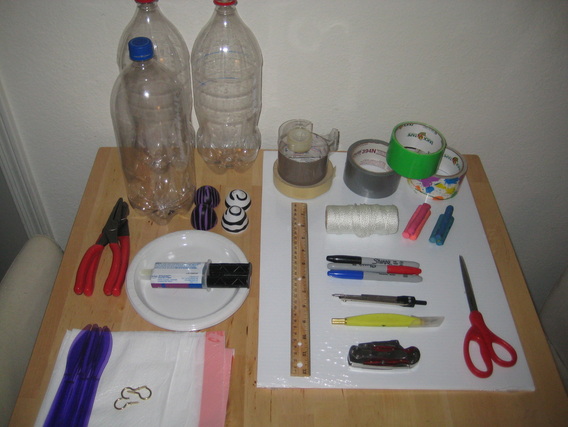
Below are the materials necessary to build various rockets, including one with a parachute recovery system. Your rocket may not require all materials pictured below.
|
Required Materials:
At least one 2 liter soda bottle Material for fins (plastic poster board pictured) Glue (for plastic) Permanent markers Scissors Metal-edged ruler Hobby knife Clay or Play-Doh Duct tape Paper (preferably graph) Clean, flat working area |
Additional Materials:
Extra soda bottle(s) Plastic Easter eggs Mixing plates (epoxy) Mixing sticks (epoxy) Plastic bag (for parachute) Kite string Compass Tape (Scotch, Packing) Pliers Side cutters Hooks Cardboard file folder |
|
|
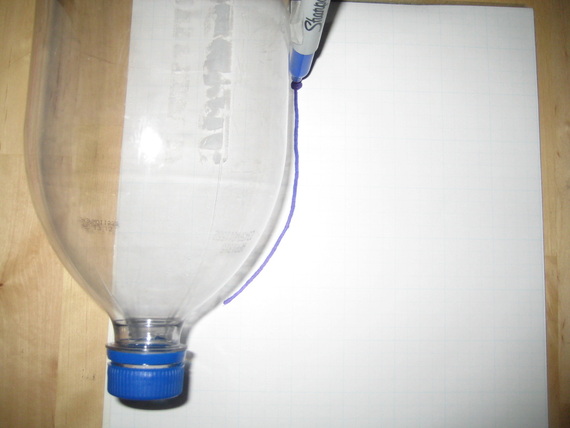
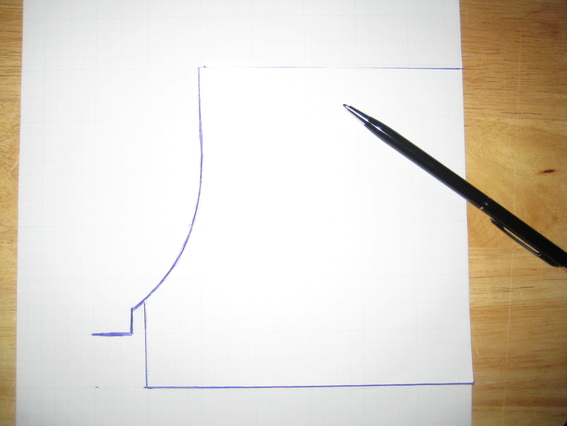
The Fins: Since the bottom of the bottle rocket is curved, for the fins to attach to the side better, you will need to make a template. Lay bottle to be used as pressure chamber on its side on a piece of graph paper. Carefully trace the shape of the bottle onto the paper. The more accurate you are now, the better the fins will fit to your rocket. |
|
|
Draw top and bottom lines onto your template paper. These temporary lines will mark the top-most and bottom-most edges of the rocket's fins. This is just to make the template more manageable. This is not the final shape of the fins. |
|
|
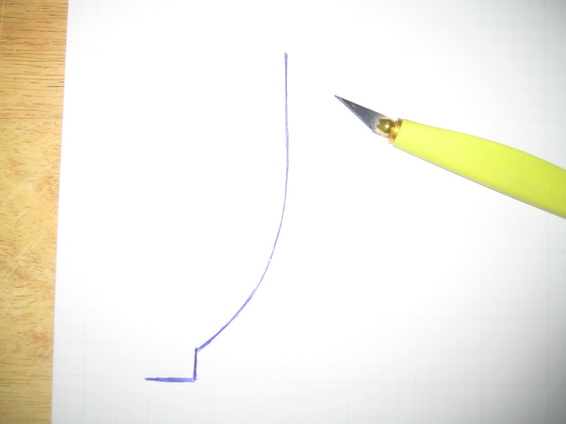
Use a hobby knife or scissors to cut along the lines drawn earlier. |
|
|
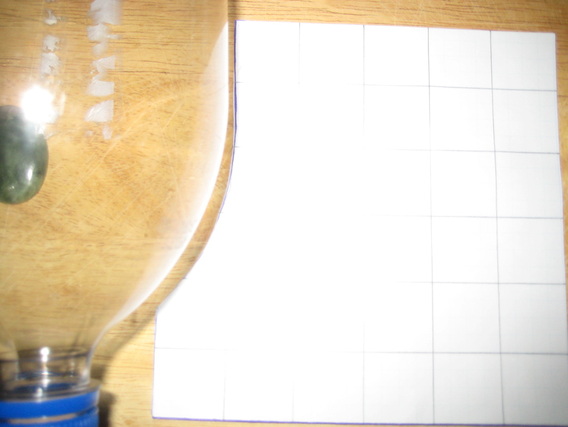
Check fit of template against pressure chamber. |
|
|
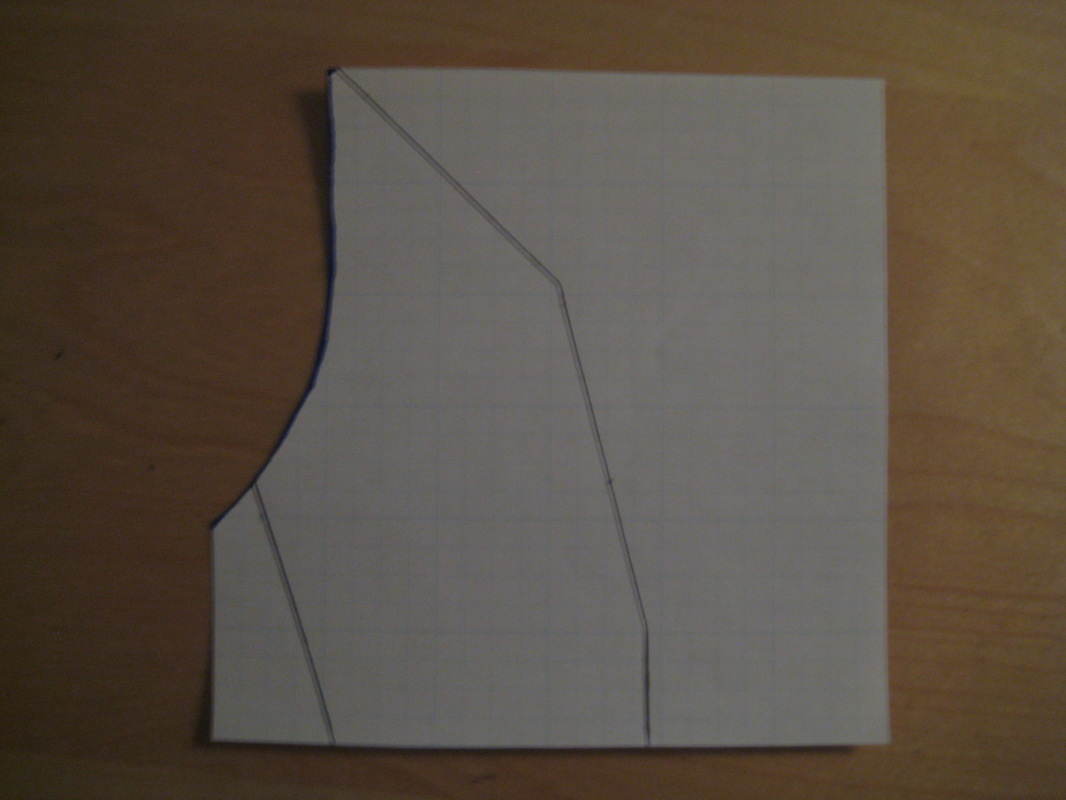
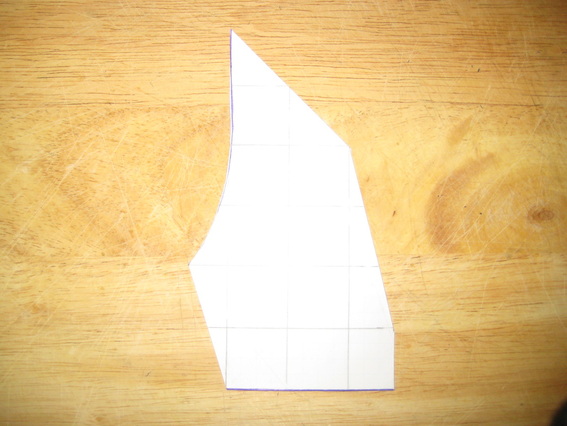
Design the fins for your rocket. Most designs, except forward swept wings will work. The bigger the fins, the more stable the rocket. Also, the bigger the fins the more drag. |
|
|
Cut out your fin template using a hobby knife or scissors. If you use a ruler with a sharp hobby knife be sure to use a ruler with a metal edge so the ruler doesn't get damaged. |
|
|
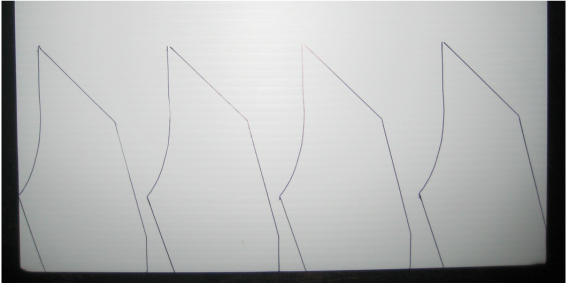
Trace the shape of the template onto the fin material. Remember, fins must be stiff, not floppy or else they will not help the stability of your rocket. |
|
|
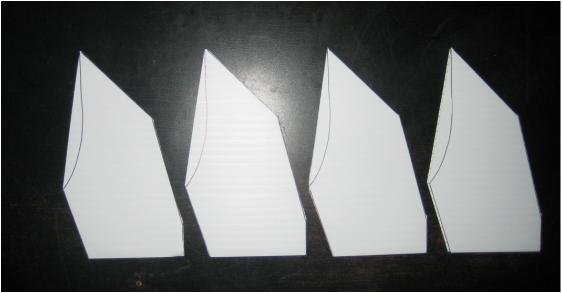
Use a hobby knife and a metal-edged ruler to cut out the fins. To make it easier, all sides were cut using a ruler first. |
|
|
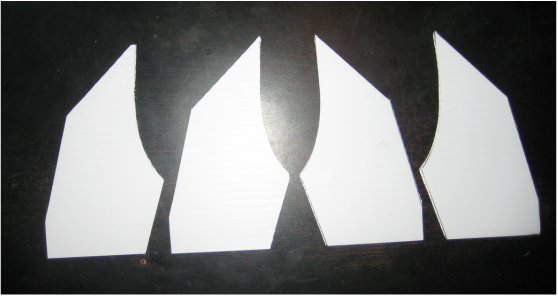
Very carefully cut out the curved portion of the fins. This part will fit against the pressure chamber so the more carefully the cuts are made, the better it will fit. |
|
|
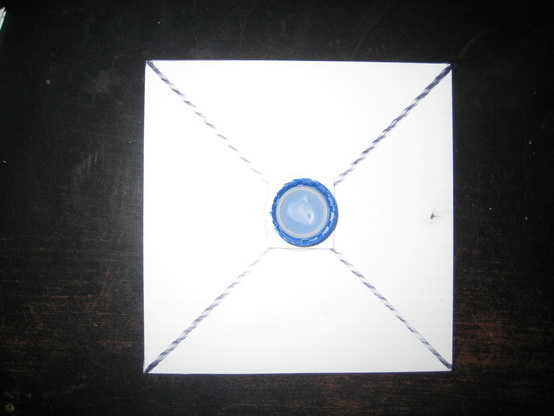
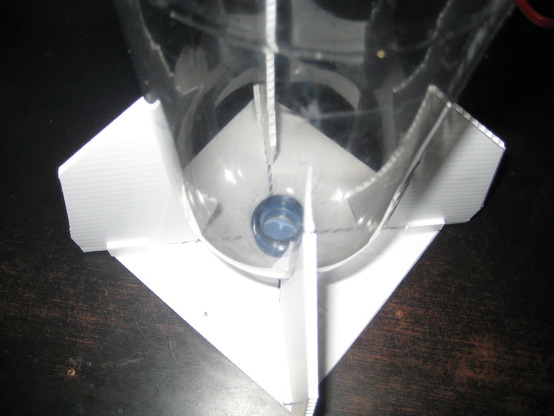
To help with assembly, you can make a fin alignment jig to ensure the fins are positioned evenly. 4 fins are easier to align up than 3 fins. Glue a bottle cap to a spare piece of cardboard or poster board. Screw in your pressure chamber bottle and it will stand straight. |
|
|
Align each fin carefully with the marks on the fin alignment jig. Attach the fins to the pressure chamber using glue (using hot glue could melt the chamber). This will hold them in place during the build. Before launch, use strips of duct tape to strengthen the attachment of each fin (place 1/2 width strips of duct tape on each side of fin/chamber where they touch). Remember: NEVER puncture the pressure chamber. |
|
|
Making a "Bertha" Nose Cone
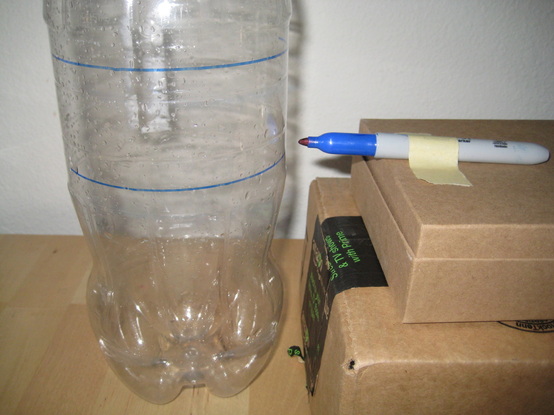
Using boxes or books and a permanent marker, draw a line around a second soda bottle. This will become the nose cone of your rocket. The nose cone can be short or long. It is your design. |
|
|
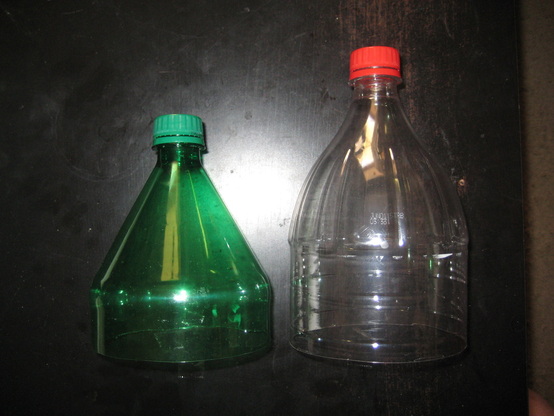
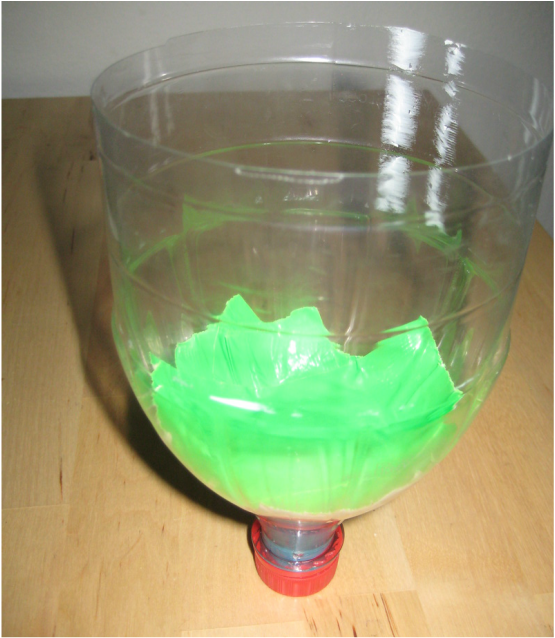
Use scissors to carefully cut along the line drawn around the bottle. The straighter the cut, the better the fit onto your rocket will be. Depending on the bottle you use, the shape can be different. Some nose cones are taller than others. |
|
|
Press clay, Play-doh, or other material into the nose cone to add weight. Check the CG of your rocket by temporarily attaching the nose cone to the rocket with a little tape. Before moving on to the next step, make sure the CG is far enough forward for stable flight. |

|
|
Cover the clay with duct tape to keep it in place. |
|
|
If you are not going to include a recovery system (parachute, streamer), the nose cone can be attached to the pressure chamber using glue or Duct tape. If you do not permanently attach the nose cone, you can later add a recovery system. By using just duct tape to attach the nose cone, it can later be replaced if damaged during flight. Remember, strengthen the attachment of the fins by using duct tape to reinforce the seams before flight. |

|
Other Nose Cone Option
|
The "Bullet" Nose Cone
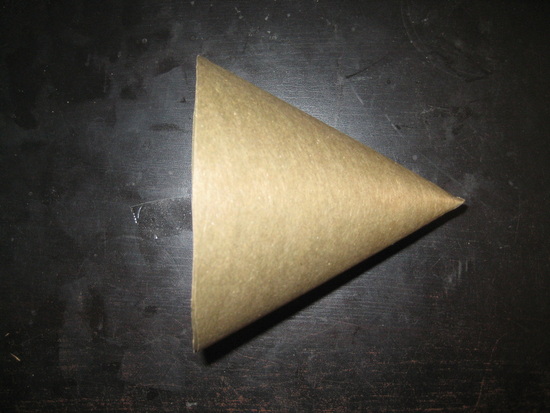
Open a file folder flat onto your working surface. Use a compass to draw a circle with a diameter of approximately 20 to 25 centimeters right in the middle of the folder. Close the folder and cut out the semi-circle. When complete, open the folder and you will have a perfect circle. Make a cut from one edge to the exact middle of the circle. Wrap the cardboard around to make a cone shape. Check the size by test-fitting it on your rocket. When the fit is good, use glue and/or tape to hold the cardboard in the shape of a cone. |
|
|
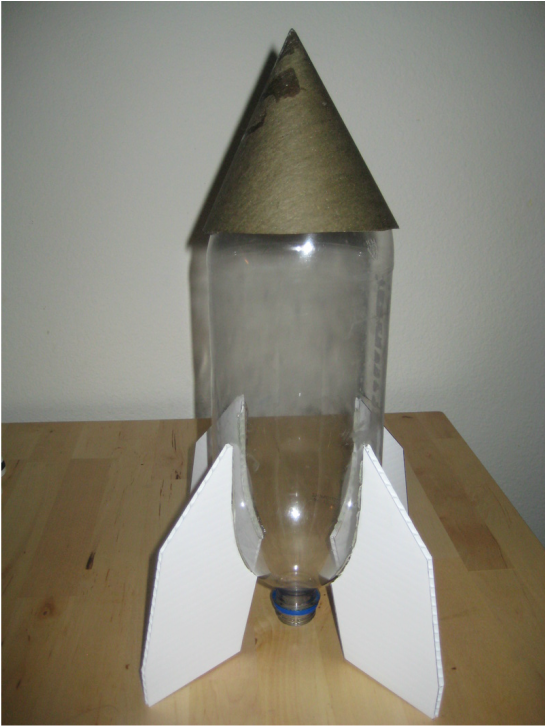
Attach the nose cone to the top of your rocket. |
|
Your rocket is ready to launch.
