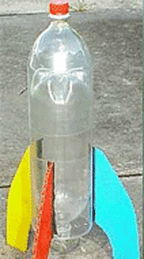
Water Bottle Rockets can have various designs of varying complexity. The most basic bottle rocket will consist of a body made from a soda or pop bottle and fins. Adding a nose cone can greatly reduce resistance and provide an area to add a little weight to help stabilize the rocket in flight. More complex designs can include gravity operated recovery systems, wind flap operated recovery systems, and even electronically controlled recovery systems.
When designing your rocket, there are some things to be careful of and several factors that should be taken into consideration.
|
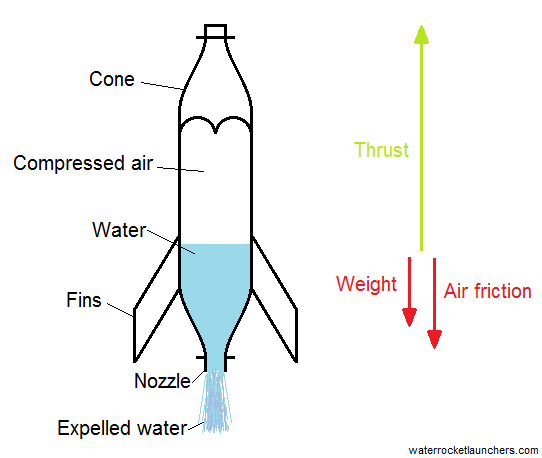
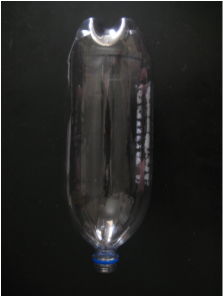
1. One of the most important parts of the water rocket is the pressure chamber (2 liter soda (pop) bottle). It is the main part of your rocket and will hold the water and compressed air used for propulsion. It is very important the pressure chamber never be cut, poked, punctured, or damaged in any way. If the pressure chamber cannot hold pressure, your rocket will not fly. |
|
2. The first part of the rocket that meets the oncoming air is the nose cone. The nose cone affects drag. Drag (or air friction) is the aerodynamic force that opposes the rocket's path through the air; the rocket's thrust pushes it up, drag along with weight, try to slow it down. The smaller the surface area of the nose or nose cone, the lesser the drag. The term Coefficient of Drag (Cd) is used when measuring the amount of drag an object has. Flying a rocket without a nose cone will greatly increase drag and not allow the rocket to fly higher.
Here are some simple ideas for creating a nose cone for your water rocket:
|
"Bertha Series" Nose Cone
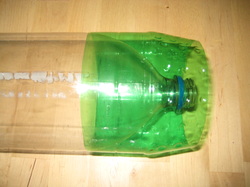
A simple but effective nose cone is called the "Bertha Series" nose cone. These are made by cutting the top off a spare bottle with scissors and attaching it onto the pressure chamber. Remember, never cut the pressure chamber. 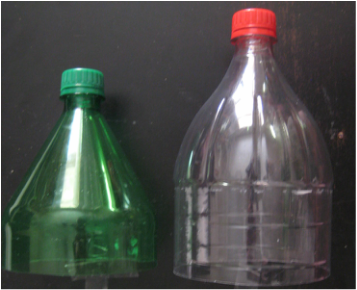
|
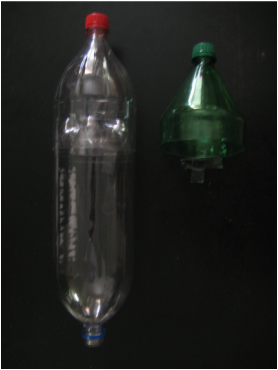
Depending on your design, you can make the nose cone taller or shorter.
|
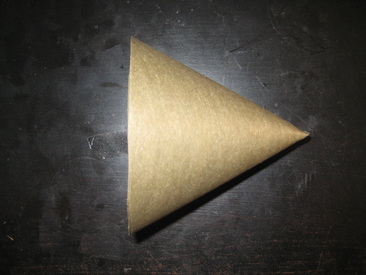
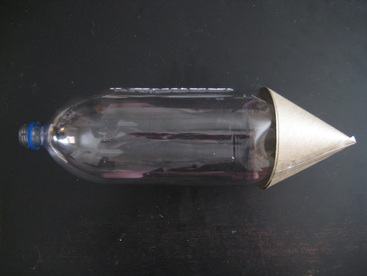
"Bullet" Nose Cone
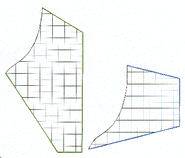
Another option for a nose cone is to make one out of stiff paper like cardstock or a class folder. Cut out a semi-circle and roll it together into a cone. It will look something like the pictures below.
Another option for a nose cone is to make one out of stiff paper like cardstock or a class folder. Cut out a semi-circle and roll it together into a cone. It will look something like the pictures below.
|
|
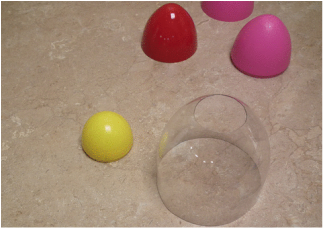
"Egghead" Nose Cone
If you want your nose cone to have a more rounded shape, using a ping pong ball or plastic egg glued inside the cut off mouth of a second bottle works well. Use the same method as above, but you will make a second line and cut to remove the mouth and neck of the spare bottle. Be careful your second cut does not make an opening larger than the ball or plastic egg you are using.
If you want your nose cone to have a more rounded shape, using a ping pong ball or plastic egg glued inside the cut off mouth of a second bottle works well. Use the same method as above, but you will make a second line and cut to remove the mouth and neck of the spare bottle. Be careful your second cut does not make an opening larger than the ball or plastic egg you are using.
|

|
|
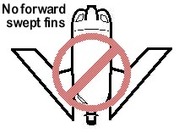
3. Fins control direction and stability. The stability of a rocket keeps if flying through the air pointed in the right direction. Without fins the rocket will wobble and tumble. Just like the feathers at the end of an arrow, the fins, with greater drag, keep the fins at the back and the nose at the front. It is also important to remember Center of Gravity and Center of Pressure to determine size and placement of fins.
Rocket fins should be stiff and not flop around. If the fins come off during the stress of launch they will not help your rocket fly straight. Some designers prefer using glue to attach fins, while others prefer tape. Many types of glue do not expand when pressurizing the pressure chamber. If the glue cracks, the fins can come off during launch. Another option, that requires a little more work, is to make a skirt to extend the bottom of the bottle around the nozzle. This allows for more surface area to attach the fins as well. Your rocket should have a minimum of 3 fins. There is no maximum number of fins, but the more fins, the more drag your rocket will have. More drag means less altitude. Most people choose 3 or 4 fins. Be creative when designing your fins.
|
|
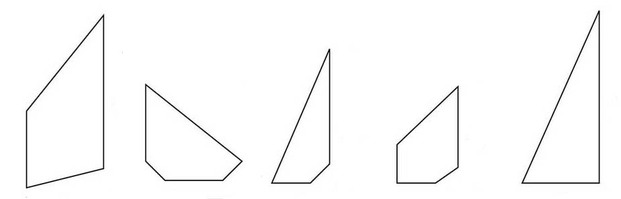
Here are some other ideas for fin shapes.
4. Keeping the weight down is important. The lighter the rocket, the higher it will fly. However, it is often necessary to add a little weight to the nose of the rocket to move the Center of Gravity (CG) forward, thus increasing stability.
|
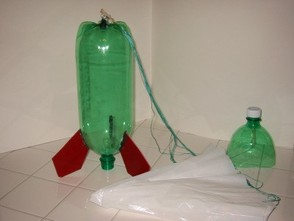
5. Parachutes, while necessary for most real rockets if the payload is to be returned to Earth safely, can be a fun addition to your water rocket. Making the parachute is relatively simple. Just a few basic materials are needed: Tall kitchen garbage bag (preferably unused), Scotch Tape, kite string or yarn, and baby powder. As a water rocket usually does not contain any mechanical or electronic parts, deployment of the parachute can sometimes be hit or miss. Details regarding parachute construction can be found on the next page.
Remember: NEVER puncture the pressure chamber. |
|
Test some different designs in the NASA wind tunnel.
Try launching a rocket.
Based on what you have learned about rocket design (nose cone & fins) describe what your rocket will look like and why you chose that design on the blog.
